
Complete Training Sessions
Counter Attacking: Part 3
Counter Attacking Part 3: 3v2 to 4v3 By Justin Faust In the 3rd part of our session we will progress to build…
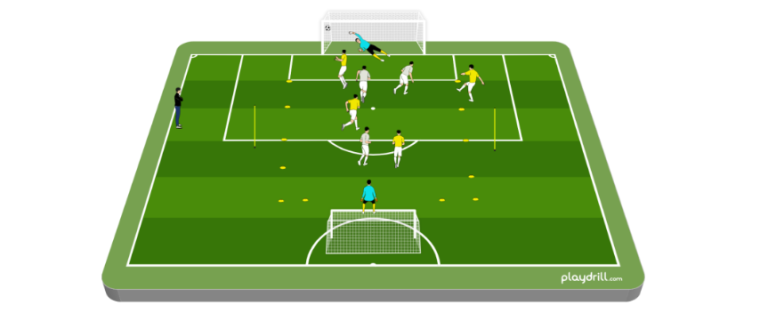
Counter Attacking Part 3: 3v2 to 4v3 By Justin Faust In the 3rd part of our session we will progress to build…
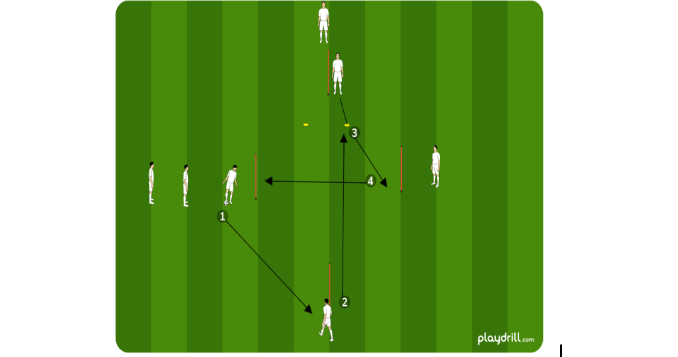
Counter Attacking Part 2: Technical Passing Drill By Justin Faust What can make or break a counter-attack is the first pass that…
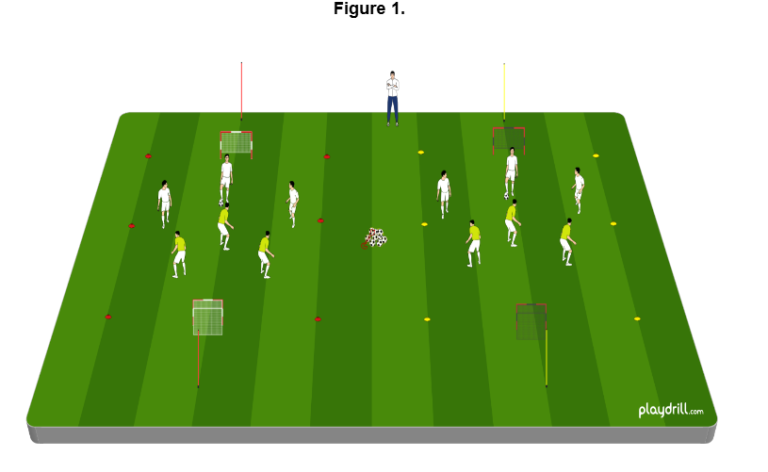
Counter Attacking Part 1: 3v3 to 3v2 Activation By Justin Faust The Counter Attacking session I have designed is one that I…
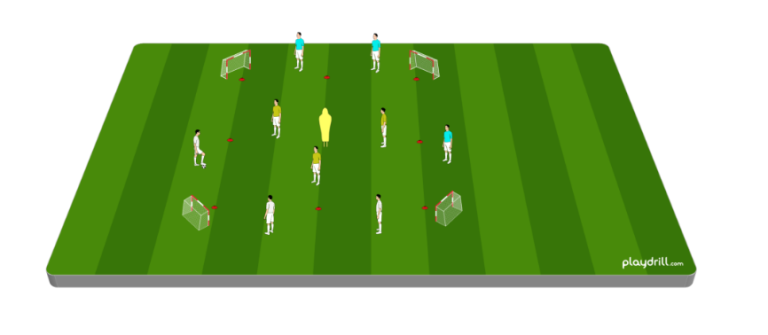
The 6v3 Rondo to Fit the Four Phases of your Game Model Rondos notoriously have been somewhat of a contentious part of…
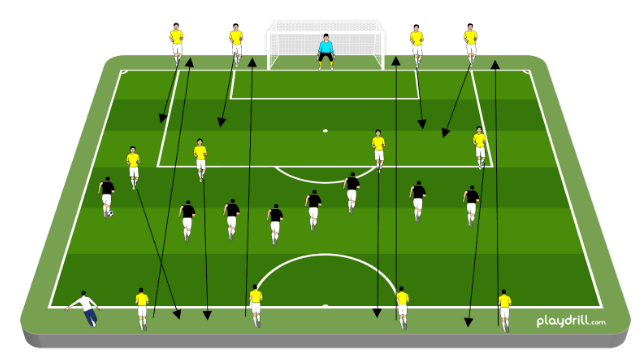
Defending Overloads in the Final Third Part 3: Winger Entry By: Matt Carroll This session is the third in my team’s summer…
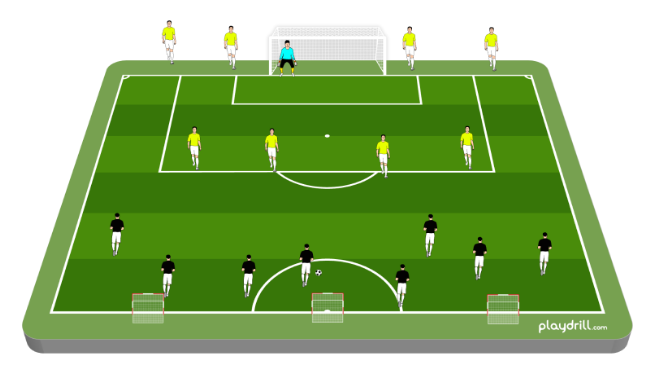
Defending Overloads in the Final Third Part 3: Timed Release By: Matt Carroll This session is the third in my team’s summer…
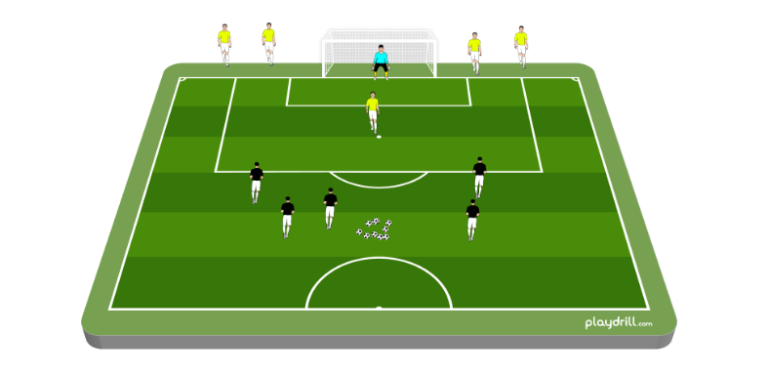
Defending Overloads in the Final Third Part 2: Progression 10 Ball By: Matt Carroll This session is the third in my team’s…
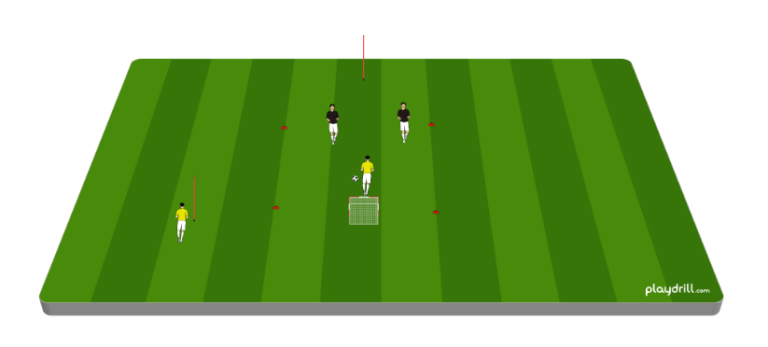
Defending Overloads in the Final Third Part 1: 2v1+1 By: Matt Carroll This session is the third in my team’s summer session…
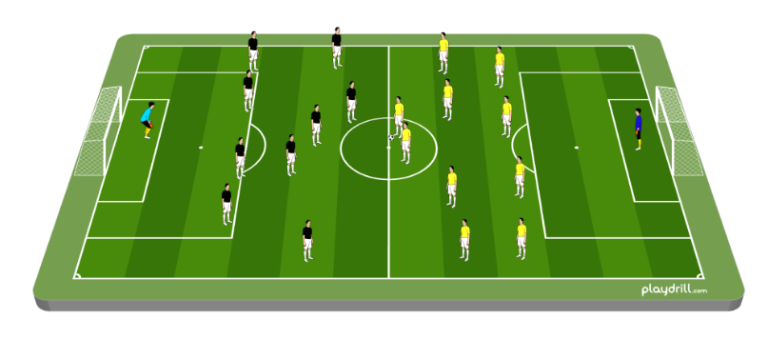
Creating Overloads at Midfield: Part 4 The Game The final stage of the session is a full sided 11v11, but with the…
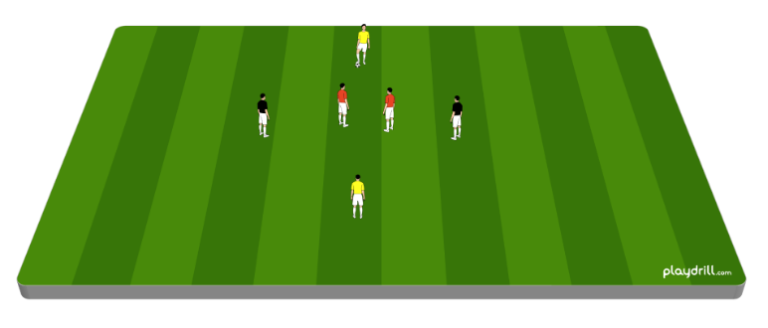
Creating Overloads at Midfield: Part 3 The Shoreman Drill For the third part of this session, we are expanding and making the…